PLEASE NOTE. These are just guidelines, it is up to the installer to ensure that all steps
taken will not endanger the installer or any observers. Tool usage is at your own risk
and we recommend hiring a qualified technician if you are uncomfortable cutting or
drilling into aluminum.
Using the appropriate diagram from the website, measure/estimate where you think
the arch feet are going to land on the stern of the vessel, pick either the front or back
leg landing positions and measure the width/span. Check for backing plate/nut
access at these positions down below or in associated locker space.
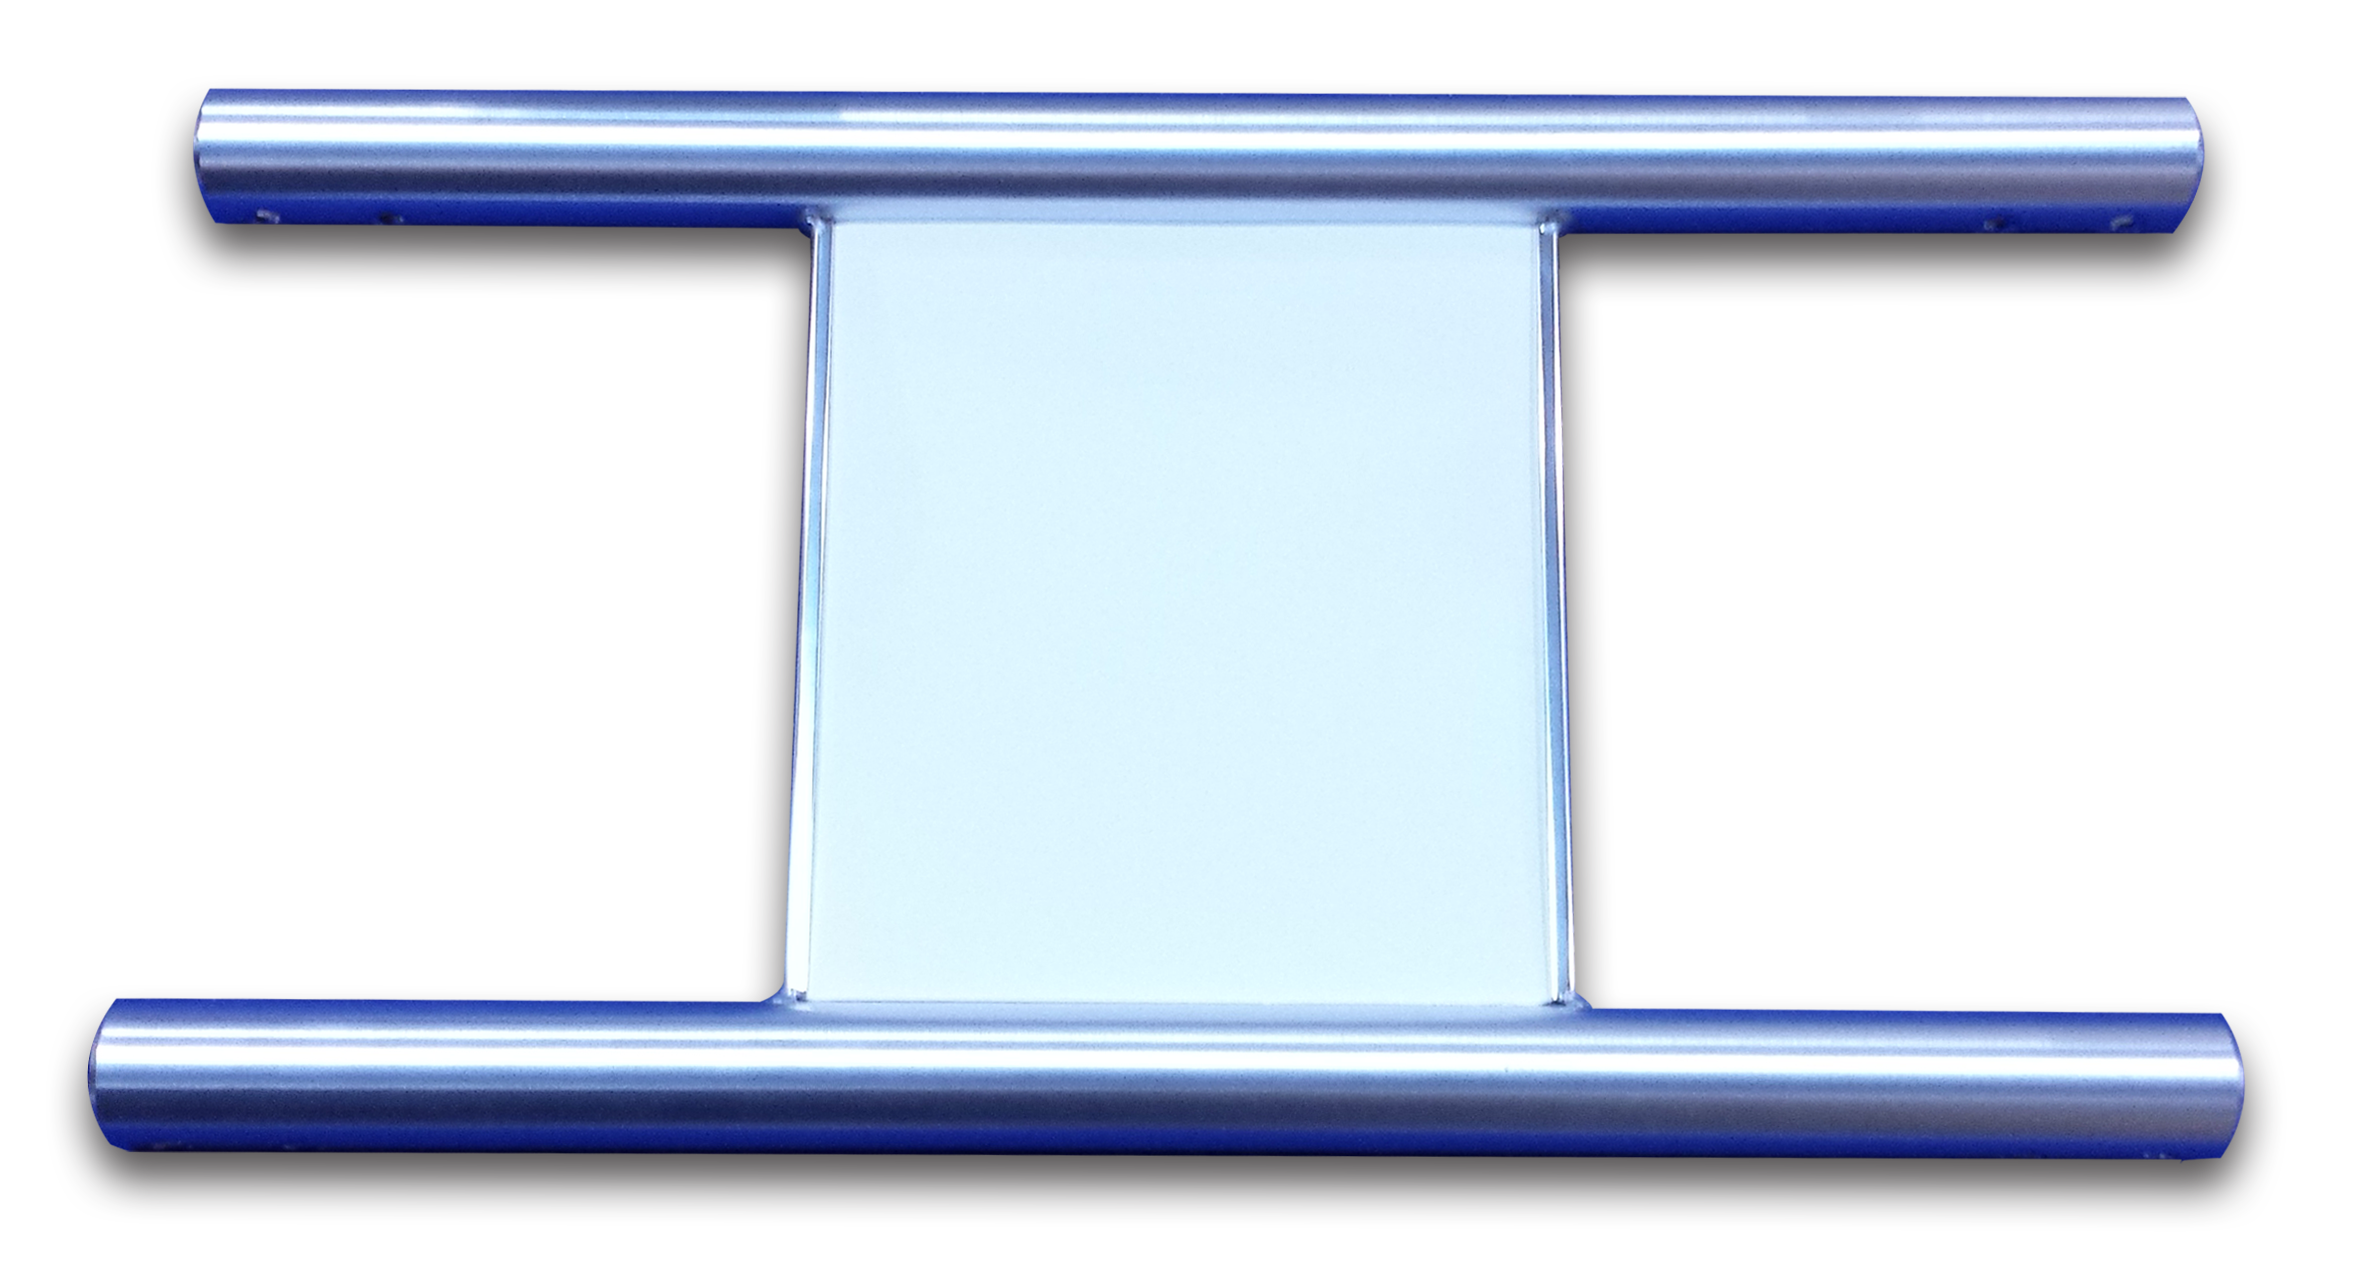
Assemble the arch on a piece of cloth or tarp on the dock to avoid scratching, and
slide the sides into the bridge EVENLY until the leg span you measured is
approximately 5-6†wider than your goal span. Tape the joints at the bridge using
masking tape to stop it sliding further in when you are test fitting and applying
pretension. Do not drill the bridge holes through the legs yet!
Assemble the arch feet with washers, bolts, nuts as per instructions in the package.
Insert into arch legs and secure with tape/string, whatever you are comfortable
using. We use string and a rolling hitch up around the arch leg but do whatever
works for you but make it secure. The feet don't float! You cannot drill them into their
final position yet... you need them in place for the mock up process but the final
position will not be established until step 7.
Attach ratchet straps or block and tackle (on a sailboat the main sheet will often
work) to the arch where the truss meets the main legs and apply pretension by
bending the arch legs inwards 4-5" (6 inches max). Stand the arch up (best with two
or three people and using the main halyard or topping lift on a sailboat) to mock up
the arch in your proposed mounting location and check on your span
measurements.
If the foot positions look good and land on the areas you intended, move on to step
5. If not, put the arch back down, release the pretension, remove the masking tape,
and expand or contract the bridge section accordingly. Although frustrating, this step
is critical. Accurate width setup will result in a more secure arch install - do not just
increase or decrease the pretension.
If the aft feet are going to land lower than the forward feet (often the case on a
transom installation). Measure the vertical “drop†difference from where the forward
legs will land and the aft legs will land and trim the FORWARD legs accordingly. If in
doubt, leave them a couple inches longer than you think they need to be, and do the
final trim once you've mocked the arch up again. Depending on your comfort level,
these trimmings can be done with the arch upright and a helper holding the side
you're trimming up off the deck - but in general it's safest to lay the arch down to
make cuts.
Check that the feet are in position where you want them to land, and the arch cross
braces are LEVEL - we often sight a seawall in the distance or a roofline as a sight
gauge, but it's also important to walk around the boat and docks and sight the arch
from various angles to make sure you like the look and overall height. You can lower
the overall height by trimming all legs the same amount.
Make sure the feet are rotated such that they sit completely flat on the deck and
mark them on the arch legs using a sharpie or similar. IMPORTANT. Mark them
accurately! You will be drilling through the foot inserts in the next step and
misaligning them will cause the feet to not sit flat on deck. Mark decks with sharpie
where through bolts for the feet will go. Hold the arch very steady when doing so,
and have a helper hold the opposite side when marking these holes. Another option
for the deck hole marking/drilling is to wait and do this step at step 11.
Take the arch down and lay it on the dock. Now you can remove the pre-tension and
drill the upper bridge fastener holes and remove the masking tape. Install through
bolts and acorn nuts using red loctite or similar threadlocker. Then drill the holes in
the feet inserts through the bottom of the arch legs, and then epoxy and through bolt
the feet using the provided kits. Have acetone handy for epoxy clean up and to
remove any sharpie marks.
Drill holes in the deck, we like to drill the holes out to 5/16" and countersink the top
side to avoid gelcoat cracking.
Re-apply the pretension and hoist arch into position for mounting. If you skipped
marking/drilling the deck holes you can now mark the deck after checking the arch
position carefully and slide the arch out of the way to drill the holes as described in
step 10.
Begin through bolting, applying adequate sealant of choice underneath foot pads
and onto fasteners. Remember to use backing plates. If the backing plates do not sit
well on underside of deck, it is recommended to install with epoxy behind the plates
to create a solid backing surface with full contact.
Clean up sealant and remove pre-tension setup.
Tighten all bolts/fasteners - don't forget the through bolts on the feet that allow some
pivot motion if not fully secured.